Guides / Specification
Furniture Grade Plywood for Cabinets: A Spec Sheet in Plain Words
October 14, 2026
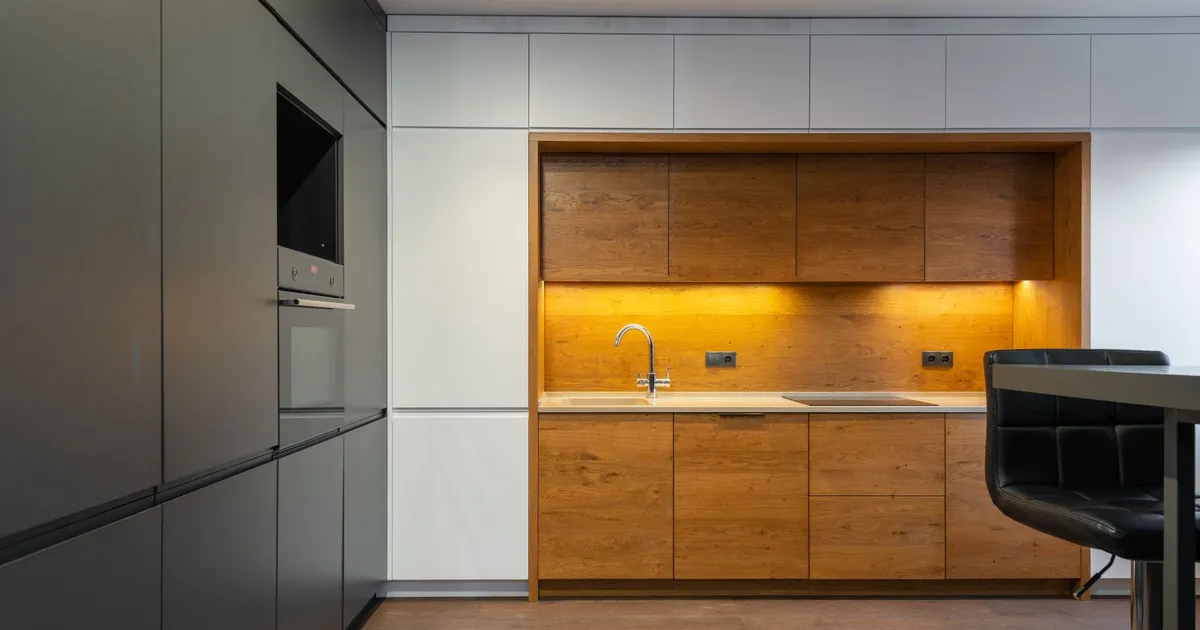
A cabinet reveals every defect in the plywood. Doors show face marks. Shelves sag if the core is weak. Hinges loosen if screws find voids. A panel that does well in a crate fails in a kitchen, because a kitchen is a place where people look closely and touch things every day.
Furniture grade is not a standard. It is a bundle of requirements that a good cabinet maker already has in mind, and a good specification writes them down.
What the cabinet maker needs
Think of the panel from the workshop’s side. Eight needs come up again and again.
- Flat sheets, so that carcases come out square and doors sit true.
- Consistent thickness, so that grooves, dados and hinges fit every time.
- A clean sanded face, ready for lacquer, veneer or laminate.
- A core without voids, so that edges cut clean and screws hold.
- Clean cutting, with little chipping on a saw or a CNC router.
- Stable moisture, so that a panel does not move between the workshop and the home.
- Low formaldehyde emission, for the destination market.
- Predictable supply, so that the second order matches the first.
Each need has a specific line in the order, and the rest of this article gives them.
Thickness by part
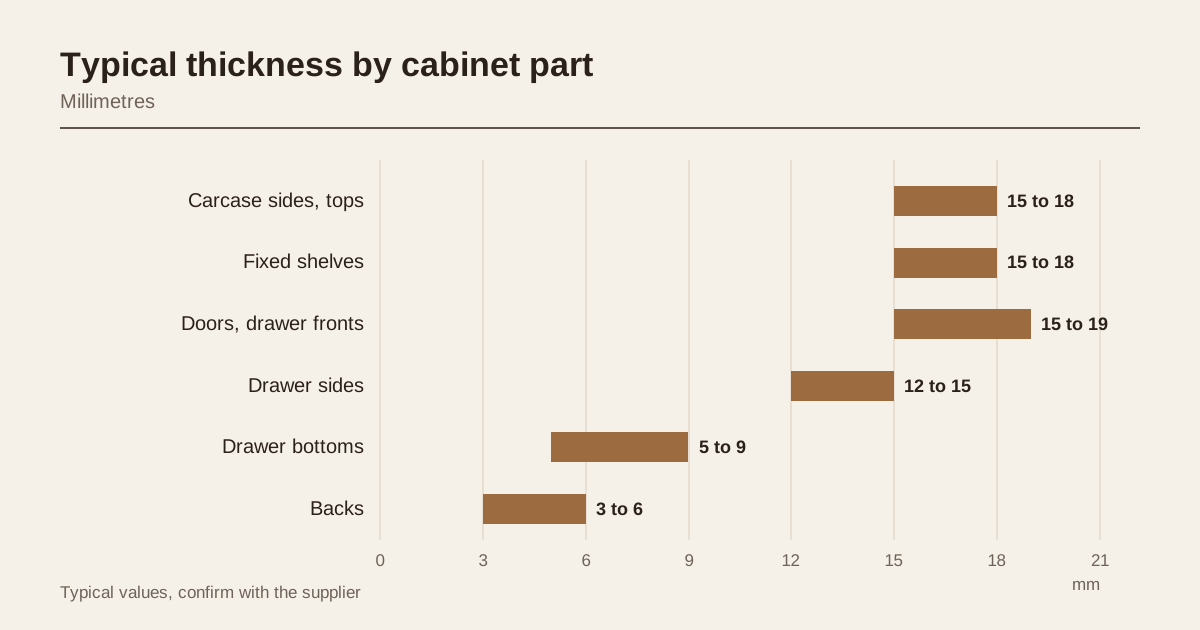
| Part | Typical thickness | Note |
|---|---|---|
| Carcase sides, tops, bottoms | 15 or 18 mm | 18 mm for wide spans and heavy loads |
| Fixed shelves | 15 to 18 mm | Support spacing and load decide it |
| Adjustable shelves | 18 mm | Span limits are lower for 15 mm |
| Doors and drawer fronts | 15 to 19 mm | Flatness matters more than thickness |
| Drawer sides | 12 to 15 mm | Grooves for bottoms need tight tolerance |
| Drawer bottoms | 5 to 9 mm | Thin, needs a flat panel |
| Backs | 3 to 6 mm | See thin plywood 2.5 to 6 mm |
These are typical values from common cabinet practice. Your design sets the real numbers.
Core quality is the hidden grade
The face gets the attention, and the core decides the result. A core with gaps, overlaps or soft pockets causes the problems that buyers find after assembly.
- Voids in the edge show on exposed shelf edges and chip when cut
- Gaps under a thin face show as dents after lacquer
- Soft spots let hinge screws pull out
- Mixed density gives uneven cutting and uneven machining
A void-free core costs more than a standard core, because the mill sorts and repairs core veneer and presses it carefully. The price is real and worth it for visible parts.
Species also matters. A dense hardwood core holds screws better, a lighter core cuts more easily and weighs less, as covered in poplar core or hardwood core plywood.
Face quality
Faces are graded by appearance. The specific grade names vary between mills, and a clear written description beats a letter.
| Grade idea | Description | Use |
|---|---|---|
| Clear face | No knots, no patches, even colour | Doors, visible sides |
| Select face | Small sound knots and a few small patches | Visible parts with paint or a dark finish |
| Back grade | Patches and colour variation allowed | Hidden surfaces and backs |
Write what you will accept: maximum number of patches per sheet, maximum knot size, whether colour variation is accepted and whether pin knots count. A photo of an acceptable face beats a paragraph of text. The general grades are described in plywood grades explained.
Sanding and flatness
A cabinet panel is sanded on the faces that show, with a final grit suited to the finish. Typical final grits run from 120 for paint to 180 or finer for clear lacquer, as set out in calibrated sanding and plywood flatness.
Flatness has its own line. Ask for a maximum bow across a sheet, and stack the sheets flat on a level pallet, wrapped. A panel that bows by more than a few millimetres across its length makes a carcase out of square and a door out of true. Because sheets move with moisture, state the moisture range too, as in veneer drying and plywood moisture content.
Glue and humidity
Most cabinets live indoors, and moisture resistant or melamine fortified urea glue is enough for dry rooms. Kitchens and bathrooms add steam and splashes, and a melamine fortified or phenolic glue gives a safety margin. The glue families are explained in MR, melamine or WBP glue.
Where the cut edge shows, as in a plywood-edge style cabinet, ask about finishing and sealing the edge, since an exposed edge takes water and wear.
Emission class
Cabinet panels are used indoors, and the formaldehyde class is part of the product. The requirement depends on the market. For the US, the federal and California rules apply to hardwood plywood and the certification route is covered in CARB P2 and TSCA Title VI. For other markets see E0, E1 and CARB P2 compared. Ask for the class in writing and for a test report linked to the production batch.
Cutting and machining
Ask the mill for a sample and cut it on your own equipment. Look at four things.
- Chipping on the exit side of a saw cut
- Edge quality after routing, with no tear-out or burning
- Screw holding, by driving a hinge screw and pulling it out
- Dust and tool wear, since dense, glue-heavy panels dull blades faster
A panel that passes on the sample is likely to pass on the order, if the mill makes it the same way each time.
Edges: banded or shown
Most cabinet makers hide the cut edge of plywood under edge banding in a matching veneer, melamine or PVC strip. For banded edges, the core quality matters less, since the banding covers small voids, and a flat, square cut matters more.
A growing share of cabinets show the plywood edge on purpose, as a design feature. For these the core must be void-free along the whole edge, the veneer layers must be even in thickness and the edge needs sanding and a clear finish. A panel for shown edges is a different product from a panel for banded edges, and it costs more. Say which one you need, and ask for a sample cut and finished.
Hardware and screw holding
Hinges, drawer slides and cam fittings bite into the panel, and the core decides how well. Four habits keep fittings tight.
- Use the right fitting. Confirmat screws and dowels are made for panel work and grip better than wood screws in an edge.
- Pre-drill to the size the fitting maker gives.
- Avoid edge screws in soft cores where a dowel or a metal insert can carry the load.
- Check pull-out on a sample with the real hardware, since figures from a catalogue are for a different panel.
A void under a hinge plate is the usual reason a door sags a year later. Void-free cores in the zones where hinges and slides mount are worth the extra price, and some makers specify them only for those parts.
A worked example, one base cabinet
A base cabinet 720 mm high and 560 mm deep needs two sides of 560 x 720 mm. On a 1220 x 2440 mm sheet, two sides fit across the width, which takes 1,120 mm of 1,220 mm. Three rows fit along the length, taking 2,160 mm of 2,440 mm. That gives six sides from one sheet, enough for three cabinets, and leaves strips of 100 mm and 280 mm that can become rails and cleats.
The example shows why thickness tolerance and square cuts matter. A sheet that is 1,215 mm wide instead of 1,220 mm still gives two sides. A sheet that is 1,105 mm wide does not. Sheet size tolerance and the way mills trim are explained in plywood sizes and tolerance. A cabinet shop that cuts hundreds of sheets a month plans yield by sheet, and a mill that trims square and to size saves real material.
Acclimatisation in the workshop
Panels that arrive from a humid port into a dry workshop move. The edges dry first and the panel can cup in a day or two. Good makers let sheets rest, wrapped or stacked flat with spacers, for two or three days in the workshop before cutting. The packing and storage rules are in packing and storing plywood so it does not warp.
Consistency between orders
The most expensive problem in cabinet making is a second order that does not match the first. Species, face colour, thickness and sanding can all drift. Three habits help:
- Keep a signed sample of the first order.
- Ask the mill to record the product code, glue and veneer sources against your order.
- Ask for the same lot of face veneer for colour-critical parts.
A mill that keeps records can repeat the product. A mill that does not will give you a different panel each time.
Writing it into the order
- Thickness and tolerance, by part
- Face grade with a photo reference and a defect limit
- Core quality: no gaps, or gap limits by width and number
- Sanded faces and final grit
- Flatness limit and moisture range
- Glue type and emission class, with the report
- Sample approval and records for repeats
Closing checklist
- List the cabinet parts and the thickness for each
- Decide which faces are visible and which are hidden
- Choose core quality and species by load and cutting needs
- Write the flatness and moisture limits into the order
- Choose the glue by room, dry or humid
- Ask for the emission class and a batch-linked report
- Test a sample on your own saw and router
Send the parts list and the quantities through the enquiry form, and up to three Vietnam mills that press furniture panels will quote against the same sheet.
Frequently asked questions
What makes plywood furniture grade?
There is no single standard. In practice it means a clean, sanded face, a core without large gaps, tight thickness tolerance, flat sheets, an interior or humidity-resistant glue and a controlled formaldehyde class. Because the term is a trade label, write each requirement into the order as a measurable line.
What thickness should cabinet carcases use?
Carcase sides, tops and bottoms are usually 15 or 18 mm. Shelves are 15 to 18 mm depending on span and load. Backs are 3 to 6 mm and drawer bottoms 5 to 9 mm. Doors range from 15 to 19 mm. Check span and load with your design, since thickness, not grade, sets stiffness.
Should cabinet plywood be sanded on both sides?
For visible parts such as doors, sides and exposed shelves, yes. For hidden parts such as backs and the inside faces of carcases, one sanded face may be enough. Sanding both faces keeps the panel balanced and flat, so many makers pay for it on all structural panels.
Need a quote for this panel?
Send the specification. We match you with up to 3 Vietnam mills and answer within 24 business hours.
Get matched with a mill