Guides / Specification
Calibrated Sanding: How Plywood Gets Flat and Even in Thickness
October 19, 2026
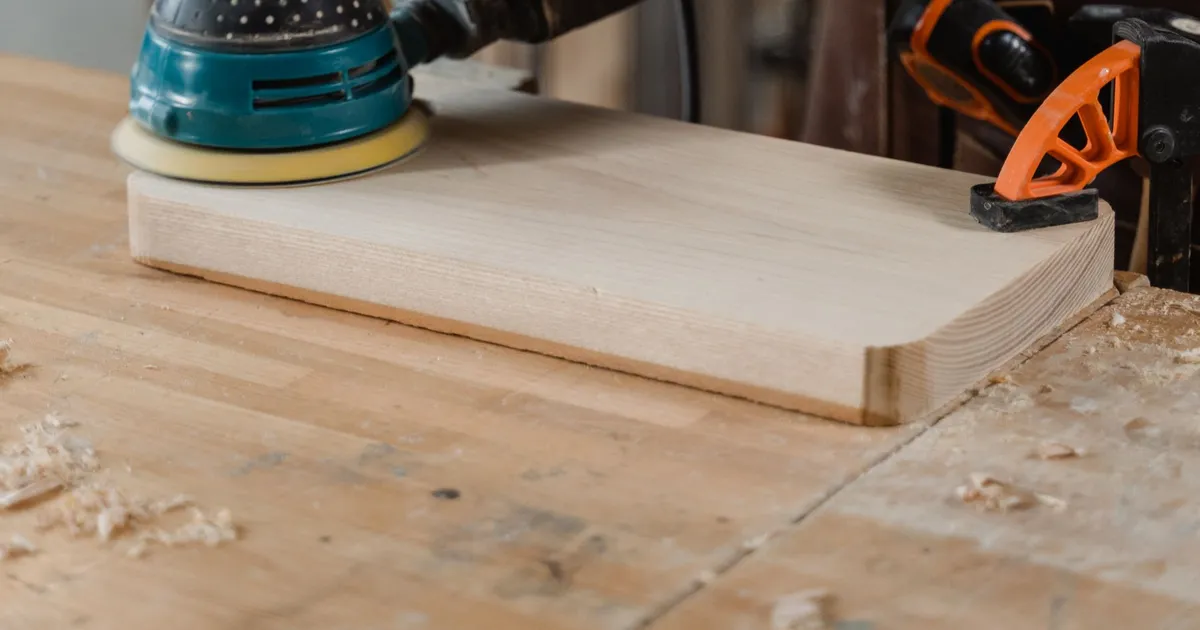
A sheet of plywood comes out of the hot press with small thickness differences, tiny steps where veneers meet and a rough surface from the press platens. If the panel will go to a CNC router, a laminating line or a clear lacquer, none of that is acceptable.
Calibrated sanding is the step that fixes it. It decides the thickness you receive, the flatness of the face and the surface a finisher starts from.
What the machine does
The tool is a wide belt sander, a long machine with an abrasive belt that runs over a conveyor. The panel moves under one or more belts, and a roller or a pad sets how much material the belt removes. The word calibrating describes the first heads, which use a coarse belt to bring the panel to a fixed thickness. Later heads use finer belts to leave a smooth surface.
The process has three effects:
- It sets thickness. The gap under the belt is fixed, so every panel leaves at the same thickness, within the machine’s limits.
- It levels the surface. Raised edges of veneer, glue bleed spots and small steps between pieces are cut away.
- It prepares the face. A finer grit removes the scratch marks of the coarse grit and gives a surface that accepts glue, paint or film.
Calibration is the reason a sanded panel can claim a tighter tolerance than an unsanded one. The unsanded panel reflects whatever the press and the veneers did. The tolerance rules are in plywood sizes and tolerance.
Grit sequence and finish
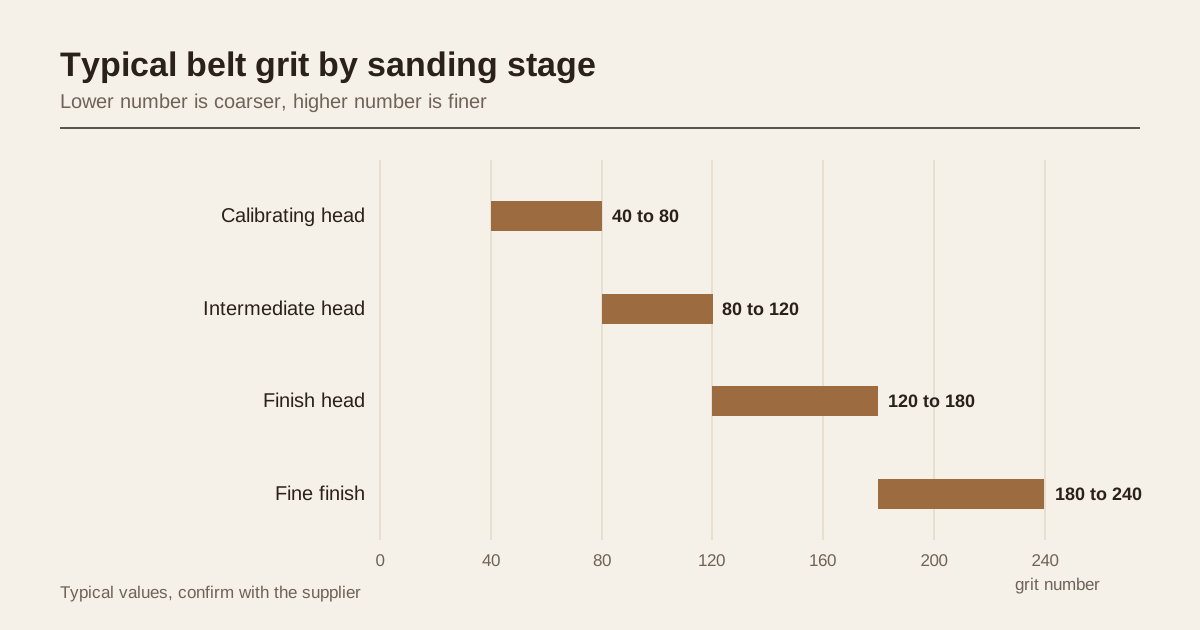
Abrasive grit is a number: the lower the number, the coarser the belt. A mill picks a sequence to suit the finish the panel needs.
| Stage | Typical grit | What it does |
|---|---|---|
| Calibrating head | 40 to 80 | Sets thickness, removes steps and glue spots |
| Intermediate head | 80 to 120 | Removes the coarse scratches |
| Finish head | 120 to 180 | Leaves a smooth face for paint or film |
| Fine finish | 180 to 240 | Prepares clear lacquer, thin decorative faces |
These grits are typical. A mill with only one sanding machine gives you one result, and a mill with a calibrating machine and a separate finish machine gives you two. Ask which finish the quote assumes, and whether the panels are sanded on one face or on both.
What it takes off, and what that means
A calibrating cut of 0.2 to 0.5 mm per face sounds small. A face veneer on a commercial panel is often between 0.3 and 1.0 mm thick, so the cut is a large share of it. That leads to two risks:
- Sand-through. The belt cuts through the face veneer at a high spot and shows the glue line or the veneer underneath. It looks like a pale or dark patch on the face. Thin faces are the most exposed.
- Thickness loss. The panel loses material from both faces. A mill that sands an 18.5 mm pressed panel down to 18 mm has taken 0.25 mm per side.
A mill that controls its sanding presses the panel thicker than the finished size, so that sanding brings it to nominal without eating the face. A panel that is pressed thin and then sanded hard anyway ends up with a face veneer worn to almost nothing. Face grades and veneer thickness are part of plywood grades explained.
One side or both sides
A single-head sander works on one face at a time, so a panel sanded on both faces runs through twice or goes through a machine with heads above and below. Sanding both faces keeps the panel balanced, because each side loses a similar amount of wood and the layers stay symmetric. Sanding only one face removes material from one side, and on thin panels that can contribute to bow.
Most furniture and film uses need both faces sanded. Single-face sanding is common for panels where the back is hidden, such as cabinet backs and underlayment. Quote both options, because the saving is real and the risk is small for the right use.
Belt wear and drift during a shift
An abrasive belt wears as it works. A fresh belt cuts quickly and leaves a clean surface. A worn belt cuts less, runs hotter and glazes the face, which can burn the veneer and make glue stick poorly. Thickness drifts too, because the same machine setting removes less material as the belt wears.
A mill with a controlled sanding line changes belts on a schedule, measures the thickness of panels at set intervals during a shift and adjusts the setting when the numbers drift. A mill without this will give you one sheet at 17.9 mm and the next at 18.3 mm, and both came off the same line on the same day. Ask how often thickness is checked, and whether the check is written down.
Flatness is more than thickness
Even thickness does not guarantee a flat panel. Flatness has three parts:
- Thickness variation, the difference between the thickest and the thinnest point of the sheet
- Bow or warp, the curve of the whole sheet when it lies on a flat table
- Surface waviness, small ripples that follow the core gaps and overlaps
Sanding fixes the first and part of the third. It does not fix a bow that comes from uneven moisture or unbalanced layers. The best sanding job on a damp panel can still leave it warped a week later, as covered in veneer drying and plywood moisture content.
A panel made with a flat base and a second press has a flatter face than a one time pressed panel. The comparison is in one time vs two time pressed plywood.
What to ask for in the order
Four items turn “sanded” into something a mill can meet:
- Faces sanded: one face, both faces or unsanded
- Thickness tolerance after sanding: a plus and minus value in millimetres, measured at several points
- Surface finish: the last grit, or the intended coating, such as paint, film or clear lacquer
- Sand-through: whether visible sand-through on the face is a defect and how much is accepted
For routers, lasers and press-fit joints, add a limit on thickness variation within one sheet. A tolerance of 0.3 mm or less within a sheet is a demanding request and is easier to meet on a calibrated panel than on any other.
Checks at the receiving end
You can test sanding quality without special tools.
- Measure thickness at eight points, four near the corners and four along the edges, with a calliper. Record the highest and lowest.
- Slide your palm across the face in the direction of the grain and then across it. Raised ridges and rough spots stand out by touch.
- Hold the panel against a low light. Scratch lines, steps and sand-through patches show up at a shallow angle.
- Place a straight edge on the face and look for light under it to find bow and waves.
Record the numbers on a short form and keep a sample sheet. If panels vary from one pallet to the next, the record shows it, and it is evidence in a claim, covered in plywood defects on arrival.
Sanding for film and paper overlays
A face that will take a phenolic film, a melamine paper or a UV coating needs a very flat, clean base. Telegraphing of a core gap, a scratch line or a ridge shows through a thin overlay as clearly as it would through paint. For these products the last sanding head matters more than the first, and mills often add a final fine pass after patching.
Dust is the other issue. Overlay resin bonds poorly to a dusty surface and the film can show bubbles or lift at the edge. Ask for the face to be cleaned after the final sanding and stored face to face or covered until it is pressed.
When sanding is wasted money
Sanding is not always the right choice.
- Panels used for crates, pallet tops and hidden structure gain nothing from a fine surface.
- Panels covered by a thick laminate or a thick veneer need a flat base, not a smooth face.
- Panels that must be sold as rough sawn or textured are specified unsanded on purpose.
For these, an unsanded panel with a wider thickness tolerance is the correct product and the cheaper one. The sanding line in the quote is a cost, and it should buy something you will see or use.
Dust and finishing
Sanding leaves fine dust in the pores of the veneer, particularly on open-grained species. A panel that goes straight to paint or glue with dust on its face has a weaker joint. Good mills blow or brush the panels clean after sanding and stack them with the face protected. A buyer who finishes panels can ask for clean, dust-free faces and can check by wiping a white cloth across the surface.
Closing checklist
- Decide which faces will be seen, coated or machined
- Specify one face, both faces or unsanded
- Set a thickness tolerance after sanding, with measurement points
- State the last grit or the intended finish
- Treat visible sand-through as a defect and define the limit
- Plan to measure eight points on a sample of panels on arrival
Send the specification through the enquiry form with the sanding line written in, and up to three Vietnam mills will quote against it.
Frequently asked questions
What is calibrated sanding?
Calibrated sanding runs a panel through a wide belt sander that removes material from the surface to bring the whole panel to one set thickness. It evens out thickness variation from the press and removes surface steps. A finish sanding with a finer grit follows when a smooth face is needed.
How much material does sanding remove?
A typical calibrating pass removes about 0.2 to 0.5 mm from each face of a panel. Face veneers are often 0.3 to 1.0 mm thick, so the cut has to be controlled or the sander goes through the face and shows the veneer underneath.
Does sanded plywood cost more?
Yes. Sanding adds machine time, abrasive cost and some material loss. Sanding both faces costs more than sanding one. A panel that will be covered by another layer does not need it, and a panel that will be seen, filmed or coated usually does.
Need a quote for this panel?
Send the specification. We match you with up to 3 Vietnam mills and answer within 24 business hours.
Get matched with a mill